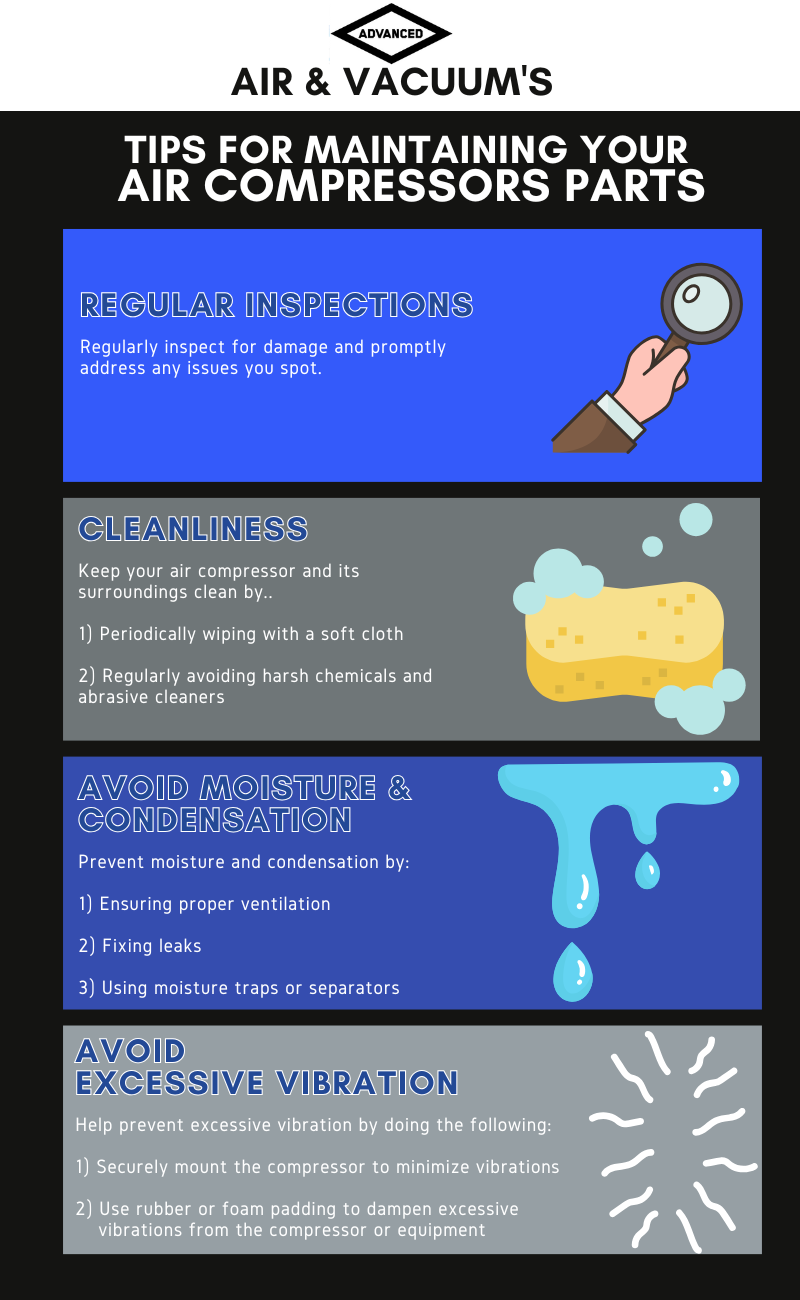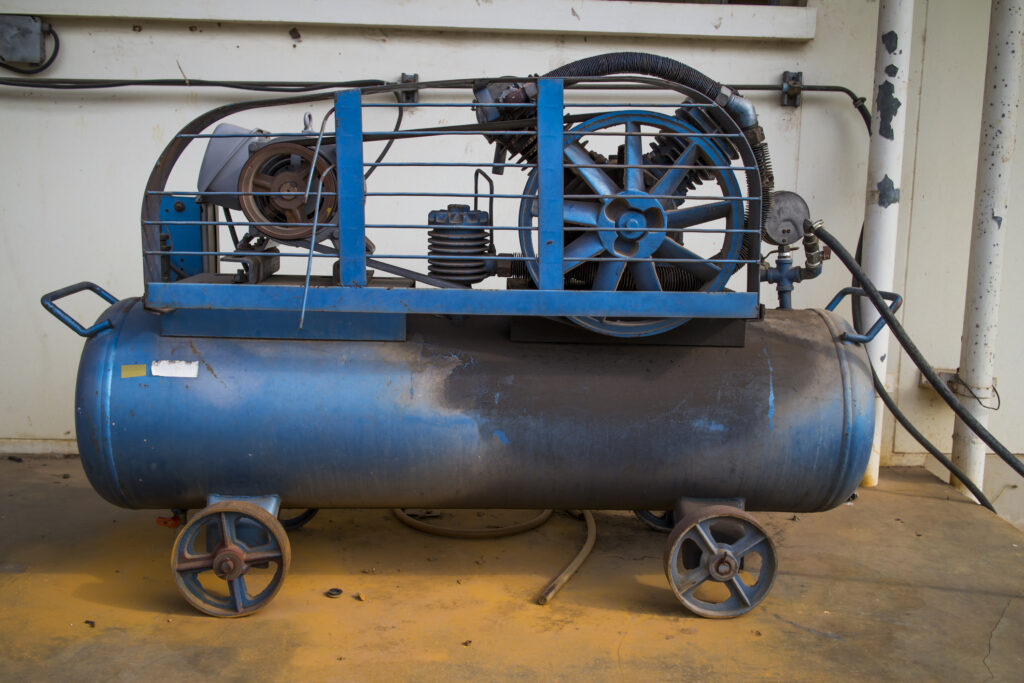

Selecting the right size air compressor for your pneumatic tools is a crucial decision that can significantly impact your work efficiency. Whether you’re a DIY enthusiast setting up a workshop with a small compressor or a professional managing multiple air tools, your compressor size directly affects the performance of every tool in your arsenal.
Think of your air compressor as the heart of your pneumatic tool system. Just as a weak heart can’t effectively pump blood throughout the body, an undersized compressor with insufficient cubic feet per minute (CFM) output can’t deliver the necessary air volume and pressure to your tools. This leads to suboptimal performance, increased wear on your air tools, and frustrating work delays. Conversely, investing in a bigger tank or larger compressor than needed means unnecessary energy consumption and higher upfront costs.

Air Compressor Basics: Key Selection Factors
Critical Specifications
- CFM (standard cubic feet per minute) – Most important metric, measures air volume delivery capacity.
- PSI (pounds per square inch) – Pressure measurement; most tools operate at 70-100 PSI.
- Tank size (gallons) – Affects run time before cycling; larger tanks provide longer operation periods.
Selection Guidelines
- Match the compressor’s CFM output to your tools’ requirements.
- Consider usage patterns when determining tank size.
- For home/light commercial use – Single-stage compressors are sufficient.
- For industrial/continuous use – Two-stage or rotary screw systems offer higher efficiency.
- CFM rating is typically more critical than PSI for most applications since modern compressors generally generate adequate pressure.
Common Air Tools and Their Requirements
Light-Duty Air Tools (0.3-0.9 CFM)
- Brad nailers and framing nailers: 0.5-0.9 CFM at 70-90 PSI
- Staplers: 0.3-0.5 CFM at 70 PSI
- Tire inflators: 0.3-0.5 CFM at 30-90 PSI
- Small airbrushes: 0.4-0.7 CFM at 15-50 PSI
- Pin nailers: 0.3-0.5 CFM at 70-90 PSI
- Best with: Pancake compressor, smaller tank
Medium-Duty Applications (3-9 CFM)
- Paint sprayers: 4-8 CFM (varies by nozzle size)
- Standard pneumatic sanders: 6-9 CFM
- Impact wrenches (3/8″): 3-5 CFM at 90 PSI
- Die grinders: 4-6 CFM at 90 PSI
- Pneumatic drills: 4-6 CFM at 90 PSI
- Air ratchets: 3-5 CFM at 90 PSI
- Best with: Larger tank size, adequate CFM-rated electric compressor
Heavy-Duty Industrial Applications (4-14+ CFM)
- Heavy-duty impact wrench (1/2″): 4-7 CFM at 90 PSI
- Professional paint sprayers: 10-14 CFM
- Sandblasters: 10-25 CFM at 90-100 PSI
- Angle grinders: 5-8 CFM at 90 PSI
- Pneumatic jackhammers: 15-40 CFM at 90 PSI
- Industrial air hammers: 8-16 CFM at 90 PSI
- Best with: Rotary screw compressor systems, stationary compressor, bigger tank sizes
Note: Match your compressor’s CFM output to your highest-demand tools for optimal performance.

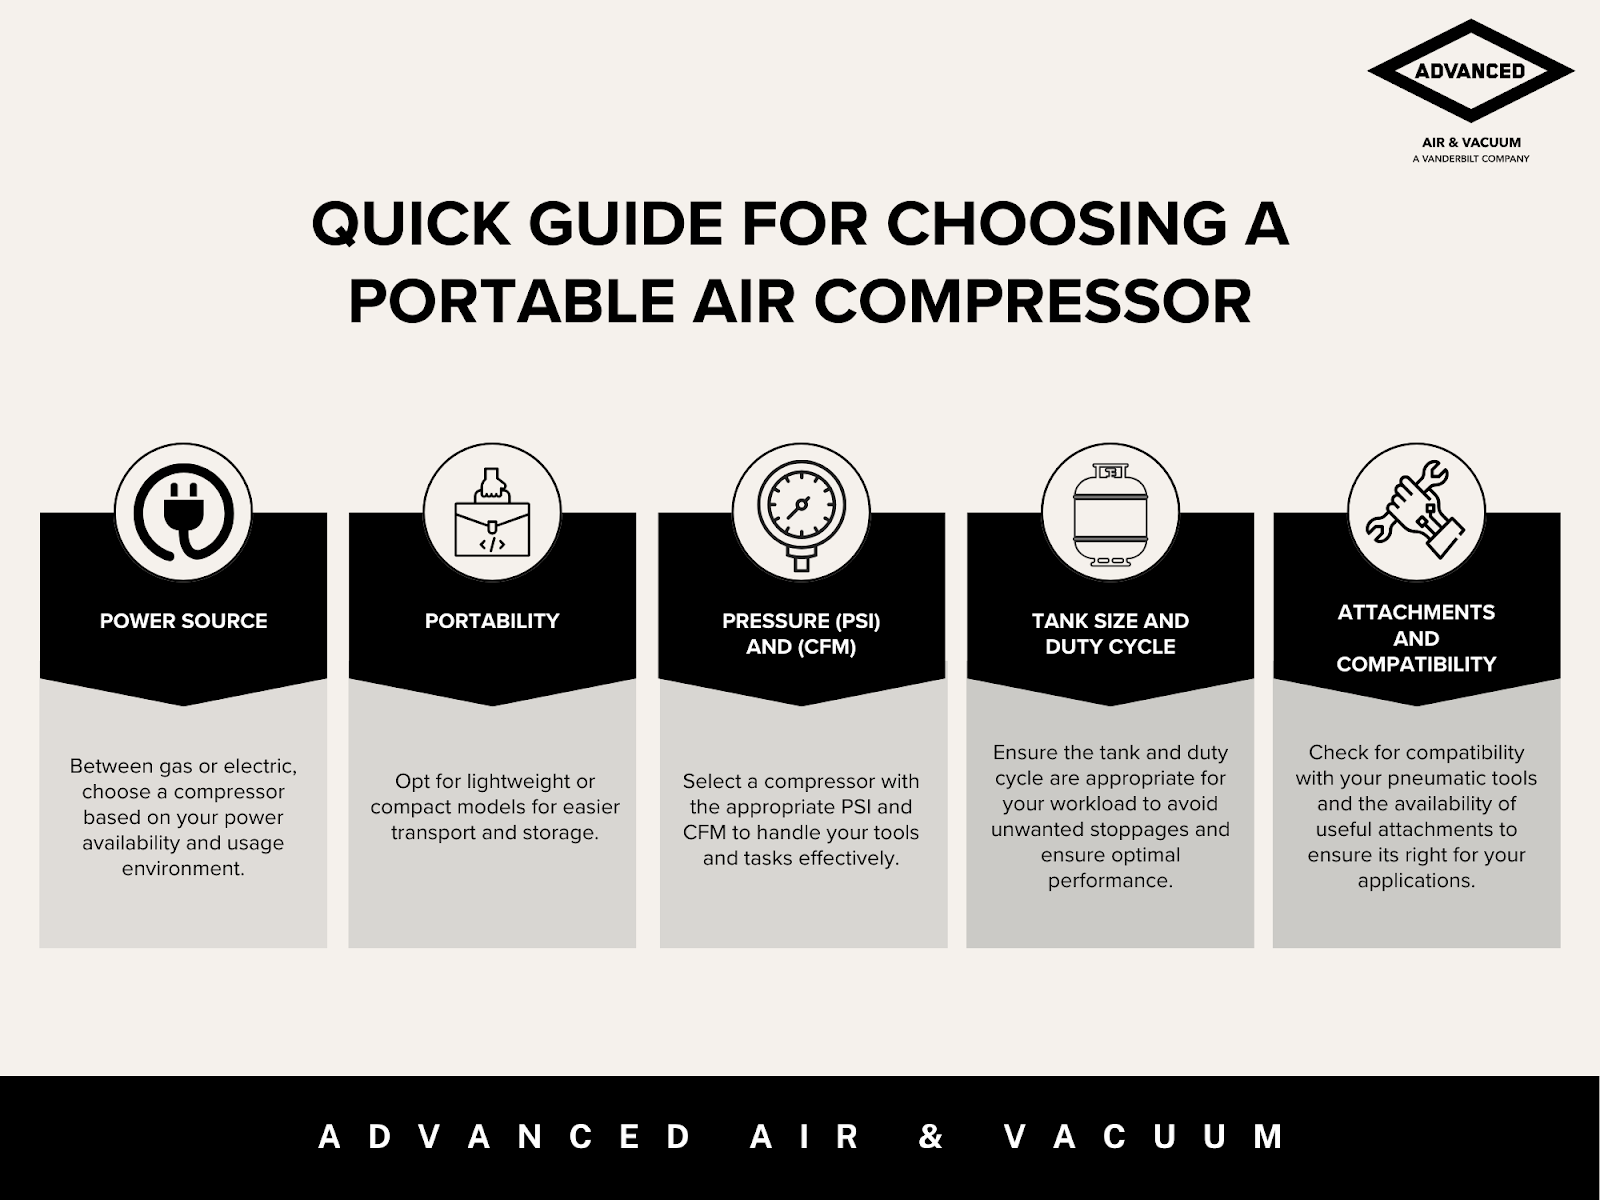
Factors to Consider When Sizing Your Air Compressor
1. Tool Usage Requirements
- Number of Tools Used Simultaneously
- Add together the CFM requirements of all tools running at the same time
- Example: Paint sprayer (6 CFM) + impact wrench (5 CFM) = at least 11 CFM needed
- Duty Cycle Requirements
- Light, intermittent use (e.g., brad nailers): Lower capacity acceptable
- Continuous operation (paint sprayers, industrial applications): Requires rotary screw compressor with 100% duty cycle rating and larger tank
2. Workspace Considerations
- Physical dimensions: Space for tank placement
- Air hose length & routing: Ensure accessibility
- Electric motor power availability: Check voltage compatibility
- Noise restrictions: Factor in workplace noise limits
- Distance from storage tank to tools: Longer runs require higher air volume
3. Future Planning
- Buy a bigger tank now instead of upgrading later
- Consider additional air tools you might add
- Account for increased CFM requirements of future tools
- Anticipate new applications that may require more power
4. Environmental Factors
- Construction sites vs. indoor workshops: Different air demands
- Temperature & altitude: Affect compressor efficiency
- Compressed air quality: Humidity impacts air tool performance
Calculating Your Air Compressor Size Needs
Basic Calculation Formula
- List all air tools and their CFM requirements.
- Identify which tools will run simultaneously.
- Add the individual CFM ratings of concurrent tools.
- Factor in extra air volume needs for reliability.
Real-World Example
- Impact wrench – 5 CFM.
- Paint sprayer – 7 CFM.
- Total base requirement – 5 + 7 = 12 CFM.
- Add 30% buffer – 12 × 1.3 = 15.6 CFM total.
Common Sizing Mistakes to Avoid
- Focusing only on tank size instead of CFM needs.
- Ignoring duty cycle for larger air tools.
- Overlooking future expansion needs.
- Choosing a small compressor for industrial settings.
Recommended Air Compressor Sizes for Common Applications
Home Workshop Setup
- 3-6 CFM requirement.
- 20-30 gallon tank.
- Brad nailers, basic pneumatic tools.
Professional Air Tool Usage
- 15-30 CFM requirement.
- 60-80 gallon tank.
- Impact wrenches, paint sprayers.
Construction Sites
- 10-25 CFM requirement.
- 30-60 gallon tank.
- Framing nailers, larger air tools.
Industrial Settings
- 30-500+ CFM requirement.
- 120+ gallon storage tanks.
- Rotary screw compressor for 24/7 operation.
Conclusion
Choosing the right size air compressor is essential for optimal air tool performance. By understanding CFM, PSI, tank size, and duty cycle, you can invest in an air compressor that meets your current and future needs.
Would you like help finding the perfect air compressor for your tools? Let us know your requirements, and we’ll guide you toward the best solution!

How AAV Can Help
Advanced Air and Vacuum (AAV) provides specialized compressor solutions tailored to the unique challenges faced by businesses across California, Arizona, and Nevada. With decades of experience serving the Southwest, AAV understands how extreme temperatures and environmental conditions impact compressor performance and longevity.
AAV’s certified technicians work closely with clients to determine precise CFM requirements, duty cycles, and workspace constraints, ensuring you get precisely the right system for your application. Our expertise extends beyond initial sales, offering comprehensive installation, preventative maintenance, and emergency repair services that minimize costly downtime.
If you are ready to take the next step, contact us or request a quote today to get started.