

Why It’s Important to Fix an Air Compressor Hole ASAP
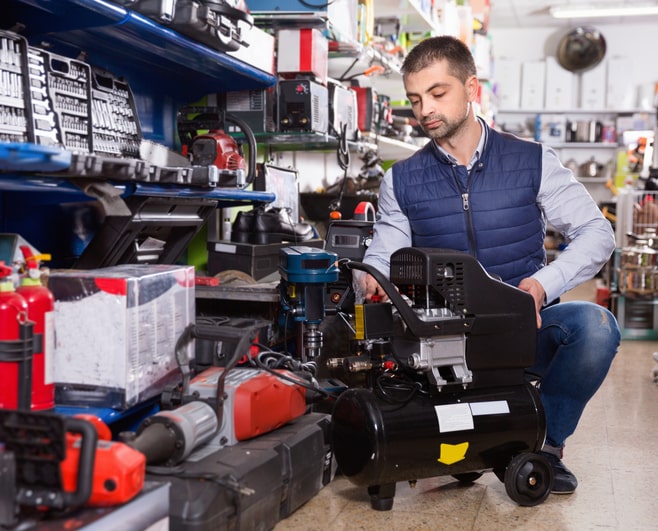
Whether you’re looking at a small pancake air compressor from Harbor Freight or Home Depot or a 150-gallon tank old compressor that you’ve gotten years of service out of, it’s important that you fix the hold in your receiver tank ASAP. If you don’t, it can lead to additional problems that are not so easily fixed, such as the failure of your compressor pump because your tank cannot keep sufficient air pressure for the load from your air tools, causing it to cycle endlessly and exceed its rated duty cycle.
Similarly, a small leak from your air compressor because proper maintenance wasn’t undertaken and the tank has rust in the water when you drain it with the drain valve in the lowest position, there’s going to be additional rust inside. Duct tape over the pinhole won’t fix serious problems like a corroded tank, and in many situations, patching one small hole in the tank will simply cause more to appear, and could cause an explosion if left as it is. A new compressor may be the direction you have to go in, but at a minimum, you’ll want to replace the damaged tank with a replacement tank.
If you have undertaken proper maintenance, including daily draining of the tank to remove moisture, a small hole could occur because of an accident, such as someone on your crew accidentally drilling into the tank when using it as a sawhorse or a drop from a height onto something very hard and sharp. In these situations, it’s entirely possible to fix the problem with a little work, saving you from having to buy a new compressor when your old compressor still has years of reliable service left in it.
What to Look Out for
While you’re making a repair on your pressure vessel, you may as well check the other aspects of the air compressor to make sure that the rest of the components are working beyond the air receiver tank. Have you noticed fog in your lines or at your pneumatic tools? This could be a sign of oil in the lines and adding an oil filter can help reduce the problem. Rusting tools with a clean tank can be a sign that you need to add an air dryer to your system.
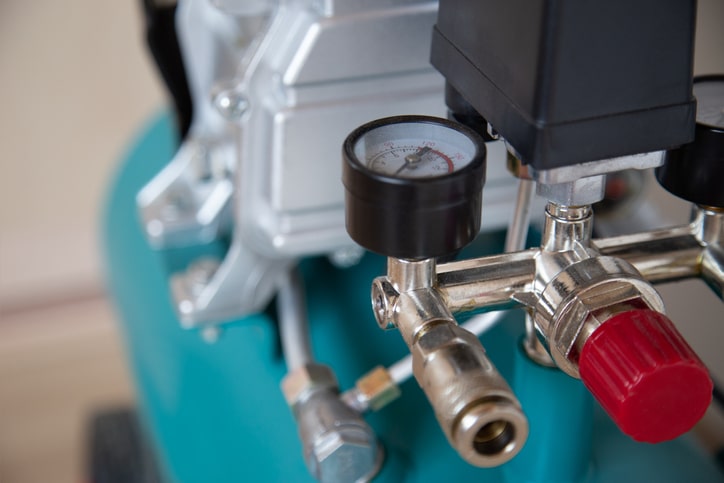
There are also numerous valves to check, including a safety valve or pressure relief valve, a tank check valve, the unloader valve or valves to which your lines attach, and the attached pressure switch. Are these parts working properly? If you need to, remove them from the air compressor temporarily and attach them to a portable air tank or a new tank using Teflon tape, so that they’re easily removed after testing. Do NOT test them on the questionable tank with the small hole, especially if you suspect the problem is caused by corrosion. Check if the cut-in pressure is reading accurately.
Again, if you have a tank that you suspect has a leak because of corrosion, it’s best to put new pressure tanks on the compressor rather than risk an explosion if another compromised area gives way. Many people have been injured by exploding pressure tanks, including injuries to hands, eyes, limbs, and even causing loss of life in extreme situations. A new tank is much cheaper than a visit to the emergency room, doctor’s visits, worker’s compensation, or a funeral.
What You’ll Need
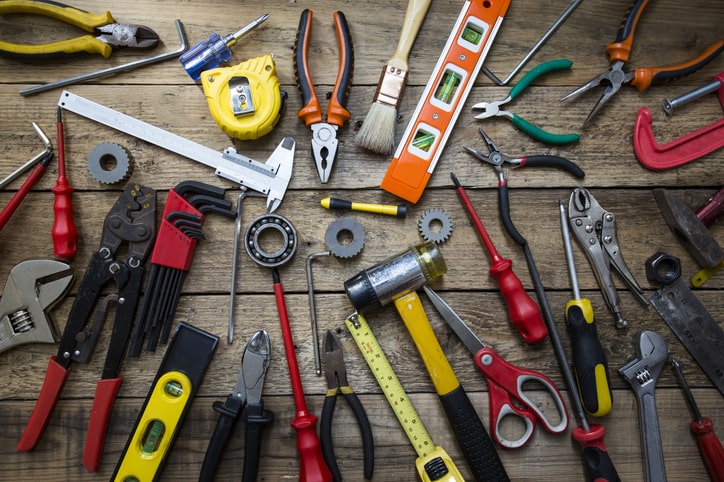
Though some people may recommend just shooting a sheet metal screw into the small hole, this doesn’t always provide the best repair, and can often result in additional flying objects and shrapnel if the tank’s air pressure becomes too high for it to bear. Others use a brazing torch to try to seal the hole, but this can cause other areas around the hole to weaken, creating a potential trouble spot. For this reason, we recommend an approach that uses the below tools and supplies:
- Spray bottle filled with soapy water to test for leaks, similar to checking gas lines for leaks
- JB Weld to seal the pinhole
- Teflon tape for sealing fitting threads
- Adjustable wrench for tightening fittings
- Grease or permanent marker for marking leaks
- Duct tape to hold JB Weld in place as it cures
- Sawhorses, workbench, or similar holding option to allow the pinhole in the air compressor tank to be rotated to the bottom.
How to Fix the Hole in Your Air Compressor
If you’ve come this far, you’ve probably decided that the hole was caused accidentally, rather than by failing to undertake proper maintenance. To save your compressor pump, you’ll want to fix the problem as quickly as possible.
- To start, hook the air compressor tank up and begin to pressurize it, keeping the air pressure below your normal cut-in pressure.
- Spray the tank and fittings down with a soapy water solution in a spray bottle. Watch for bubbles to form, indicating where you have leaks.
- If there are leaks around the relief valve, air receiver tank openings, tank check valve, safety valve, pressure relief valve, or unloader valve, you know that those areas need to be tightened down with your adjustable wrench.
- If there are areas that are showing a pin hole leak on your air compressor tank, carefully wipe around those areas and mark them with your marker.
- If you notice that additional rust water or particulates are coming out of the holes, STOP! If the corrosion is compromising one area of the tank, there are probably other areas where they’ll occur next. A replacement tank is your best bet in this situation, ensuring safety.
- Once you’ve marked your tank, wipe down any remaining moisture on the outside, being careful to not wipe away your marks.
- As you prepare to repair the pin hole leak, turn that location on your pressure tanks to the bottom of your work area. This allows gravity to assist in creating a solid plug.
- Using JB Weld, fill the pin hole, pushing enough material into the tank so that it will form a plug, leaving a bit more on the outside so that it will flatten out, forming a dumbbell shape to hold the patch in place.
- Once the patch has cured, go on to any other pinhole leaks.
- To retain the patch while the JB Weld sets up, put a piece of duct tape loosely over the hole, making sure that it flattens the JB Weld on the outside of the air compressor tank without pushing all of the material into the inside of the tank.
- Once you’ve finished allowing the JB Weld to cure, make any additional repairs that are needed in the compressor at the same time to start it back into operation in good condition.
- Consider making any changes needed to your routine maintenance and handling to prevent the problem from occurring again in the future, such as regular draining of the tank or rules around how air compressor tanks are handled on a job site.
If you’re having problems with a pinhole leak in your air compressor and are not sure whether it’s safe to repair or if you should replace it, it may be time to call in the professionals to ensure that you get a good repair or replacement tank that helps keep your air tools in effective operation for many years to come. Whether you use a 3 gal tank air compressor from Harbor Freight or a 150-gallon tank to drive your compressed air tools across a range of requirements, having a safe tank and properly running air compressor can make a big difference in how well your operation rolls forward.
The experienced professionals at Advanced Air & Vacuum are ready to help you find the right solutions for your business. With an extensive on-hand parts department, mobile repair service, available industrial air compressor rentals, and a sales team that is more focused on finding you the right solutions rather than the best one for their commission, you’ll discover an exemplary team focused on a multi-faceted approach to your air compressor problems. Why not take a few minutes to contact us today with any questions, for more information about our services, or to schedule a repair of your air compressor system?