
Your electric air compressor is designed to operate within specific air pressure ranges, with pre-set cut-in pressure and cut-out pressure setting options. For the most part, operating within this range, especially the cut-out pressure setting, is the best way to operate your air compressor. This is especially important when you’re considering adjusting the higher pressure end of your switch, because the rest of the system may not be rated to higher pressures and turning up the pressure can damage it if the rising pressure doesn’t trip a faulty safety valve and tank pressure gets too high. At Advanced Air & Vacuum, we always recommend having a professional look at your manufacturing sector air compressor to see what the system will bear, or if any other upgrades would need to happen before pressure switch adjustment takes place.
However, sometimes you have to replace the switch with a new pressure switch that has been set to different cut-in pressure and cut-out settings. These settings are the pressure at which your air compressor switch, a mechanical device, will turn on to increase air pressure or turn off when the higher pressure that is set is reached. Similarly, you may need to adjust the breadth of the pressure range in which your air compressor will operate. In this situation, being able to adjust your air compressor switch is an important part of operations.
This is a different process than changing the line pressure for your system and should not be confused. It’s much simpler to change your system’s line pressure, where a pressure regulator is adjusted to adapt the pressure in your feed lines that go to your tools. In this article, we’ll take a look at the steps that are taken when you are adjusting your air compressor’s pressure settings at the switch, including appropriate safety precautions to take to prevent an accident, what kind of tools you’ll need to get the job done, and the steps required to make the changes to your air pressure switch.
Air Compressor Pressure Switch Adjustments: Precautions + Required Tools
Safety Precautions
Air compressors often work on an electrical circuit, which makes it important to take appropriate safety precautions. Because the pressure switch will control the electrical current to the compressor motor, it’s vital that you follow safety measures, including wearing personal protective equipment. Turn off the air compressor and if possible, pull the plug to avoid accidental shocks to yourself, your crew, or any bystanders in the area.
You don’t need to open the drain valve, as the lack of current at the electrical contact will prevent the pneumatic pressure switch from running the compressor pump. However, if you’re undertaking these operations at the end of the day regardless, it may make sense to bleed pressure off of the system first, especially if you’ll be testing the cut-in at a lower pressure than you currently operate at. You may also want to inspect the pressure switch relief valve so that you know that it will blow off extra pressure instead of causing a blow-out if you turn the maximum pressure too high. Similarly, if the drain water from your drain valve is rusty, you may want to have your pressure tank inspected before adjusting the pressure up, as that can be a sign of corrosion within the tank.
Tools and Materials Needed
Generally speaking, the adjustment process needs very little in terms of tools and materials. You’ll need a screwdriver or wrench, depending on the type of air pressure switch that you have on your compressor. If the compressor and lighting in the area are hardwired into a breaker, you’ll need to throw the breaker, so make sure you tape it off and have alternative lighting available to be able to see what you’re doing. Depending on how long it has been since you’ve adjusted the pressure switch, you may need to use dielectric grease or an electrical solvent to get the set screw to move. DO NOT spray flammable liquids on the pressure switch while it is hooked up to an electrical current! Similarly, a bit of sandpaper or steel wool is handy if you need to clean up the switch contacts due to corrosion. If you’re rehabbing your air system, you may want to include Teflon tape if you’re replacing piping with threaded connections or need to replace gauges.
Steps to Air Compressor Pressure Switch Adjustment
Now that we know what we need and how to safely work on an air pressure switch, let’s start going through the adjustment steps of the process.
Step 1: Turn off the air compressor. For safety reasons, this doesn’t mean just work on it when it isn’t running, because it could cut in at any point. If possible, unplug the air compressor from its power supply or flip and tape off the breaker that the air compressor is powered on. You may want to drain the pressure tank and check the pressure relief valve at this time.
Step 2: Locate the pressure switch and the adjustment nut. There are two types of pressure switches, fixed range, which has one nut with an adjustment spring beneath it, and adjustable range, which will have two or three nuts that can be adjusted to change the cut-in point, the cut-out point, and the breadth of the pressure range between these two points. For a fixed range pressure switch, you can only increase or decrease pressure, while the range remains the same. Increasing the cut-out point will increase the cut-in point. Adjustable range provides a much finer degree of control.
Step 3: Identify the correct pressure range for your tool or equipment. If this is not located on the tool itself, or if it has worn off, check the manual for the factory setting for the pneumatic tool. Exceeding the recommended settings for the air tool can cause serious damage to the tool, so you’ll want to make sure you’ve got this range correct before proceeding.
Step 4: Turn the adjustment nut or adjustment screw. Generally speaking, almost any air compressor pressure system that has a differential adjustment will turn in a clockwise direction to increase the pressure, while turning the fitting in a counterclockwise direction will decrease the pressure. Similarly, turning the range nut on an adjustable range pressure switch clockwise will increase the range, while turning it counterclockwise will decrease the range. It is recommended that you leave a minimum range of 20 PSI to prevent short cycling and wear on your system.
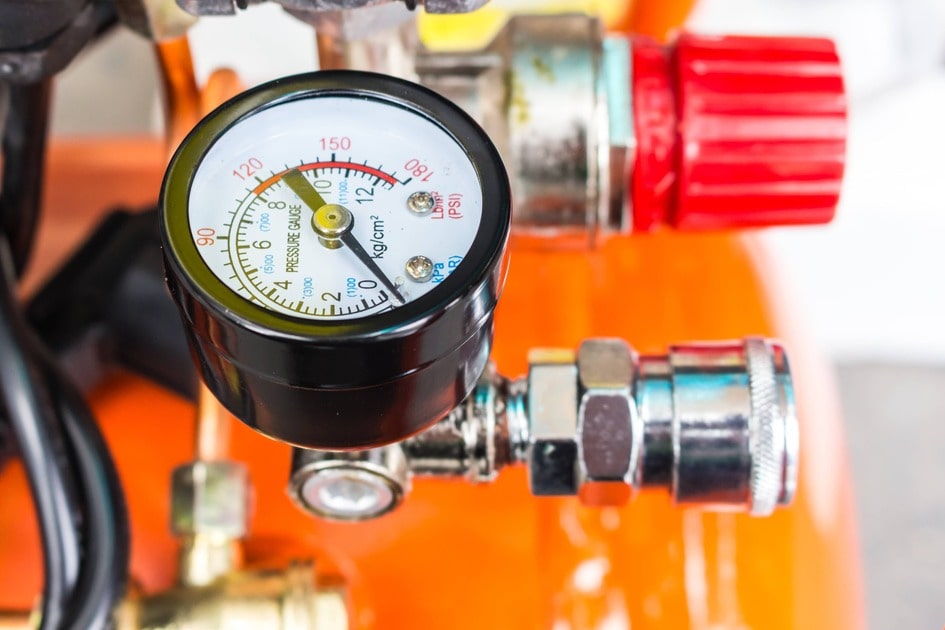
Step 5: Check the pressure gauge and adjust as needed. Close the drain valve, pressure relief valve, and shut-off valve to your air system lines. Plug your compressor in or flip the breaker back. Turn your compressor on and see at what points it will cut in and out before putting pressure out to your system. By keeping pressure localized, you can speed up the rate of compression and the testing process, because the system will not need to pressurize all your lines before you reach the cut-out point.
Step 6: Test the compressor and adjust again if necessary. Check the pressure at the gauge and again at the tank to ensure that they match up. Are they where they need to be? If the pressure is outside your ideal range, take the time to adjust again. If you record the pressure between tests and note how far you’re turning the adjustment nut or nuts, you can get a better idea of how much adjustment will be needed to reach that range.
Step 7: Turn on the compressor and monitor for any issues. After you’ve reached the ideal range for your air system, open the valve to the rest of your air lines. Connect tools and make sure that they work well with the pressure settings and make any additional fine-tuning adjustments at the pressure regulator to your overhead line system or at the tool itself, depending on your setup. Once your system is fully pressurized, listen for hissing sounds that may indicate leaks or poor connections, and repair them as needed.
Advanced Air – Your Provider of Industrial Air Compressors
Whether it’s part of your retooling process, rehabbing an older industrial air compressor, or simply changing out an air pressure switch that has failed, going through the steps properly ensures that your company will get good performance out of your air compressor for many years to come. However, in some situations, a simple adjustment may not provide enough of a change for your operation to work smoothly.
At Advanced Air & Vacuum, we’ve spent the past two decades creating outstanding air systems for industrial, manufacturing, and factory needs. With a short chat on the phone, we can find the right solution to your air compressor woes, whether it’s upgrading part of your system, making a simple repair, or providing you with the right air compressor for your company’s needs. Please feel free to contact us with any questions.